The first two articles looked at the appeal of shadowboxes and composition before modeling. If you’d like to turn your own sketch into layered artwork, the next question is likely to be: which software should I start with?
I mainly use Fusion 360 for these pieces. Choosing a tool also depends on what you want to make and what you already know.
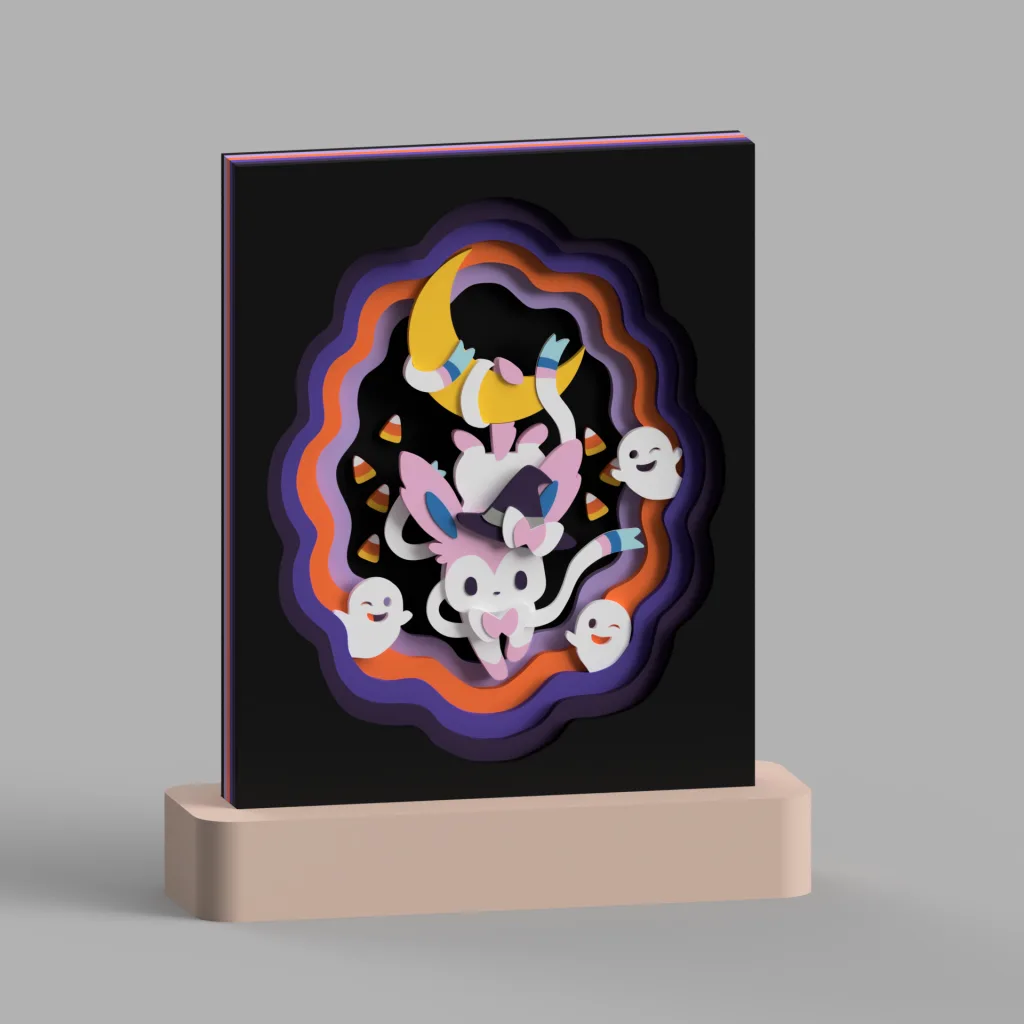
Take Halloween Sylveon. The purple and orange contours spread out through the frame like ripples. From the front, the work is mostly about outlines and color. From the side, each layer needs a thickness, a distance from its neighbors and a place inside the frame.
Designing a shadowbox means moving between those two views. Before choosing software, think about which part you need the most help with.
Draw a scene, then turn it into parts
The first half of the process feels much like drawing: place the character, sketch the background, decide which colors meet and which shapes overlap.
The second half brings dimensions into the picture. How large can the scene be inside the frame? How thick is the whole stack? Where will a small decoration connect? Can the base hold the finished piece? A front view doesn’t always reveal these questions, but printing and assembly will.
I use three questions to judge whether a tool suits the work: are outlines easy to change, are dimensions easy to manage, and can I still understand how the parts relate when there are many of them?
Those questions tell me more than a long feature list.
Inkscape and Illustrator: get the outlines right first
Vector tools are worth considering for shadowboxes built from flat outlines. Inkscape and Illustrator let you shape paths using nodes and curves. You might adjust the curve of a leaf, clean up a character’s edge or try several frame openings. The Inkscape guide to node editing and Illustrator’s Pen tool guide explain these operations.
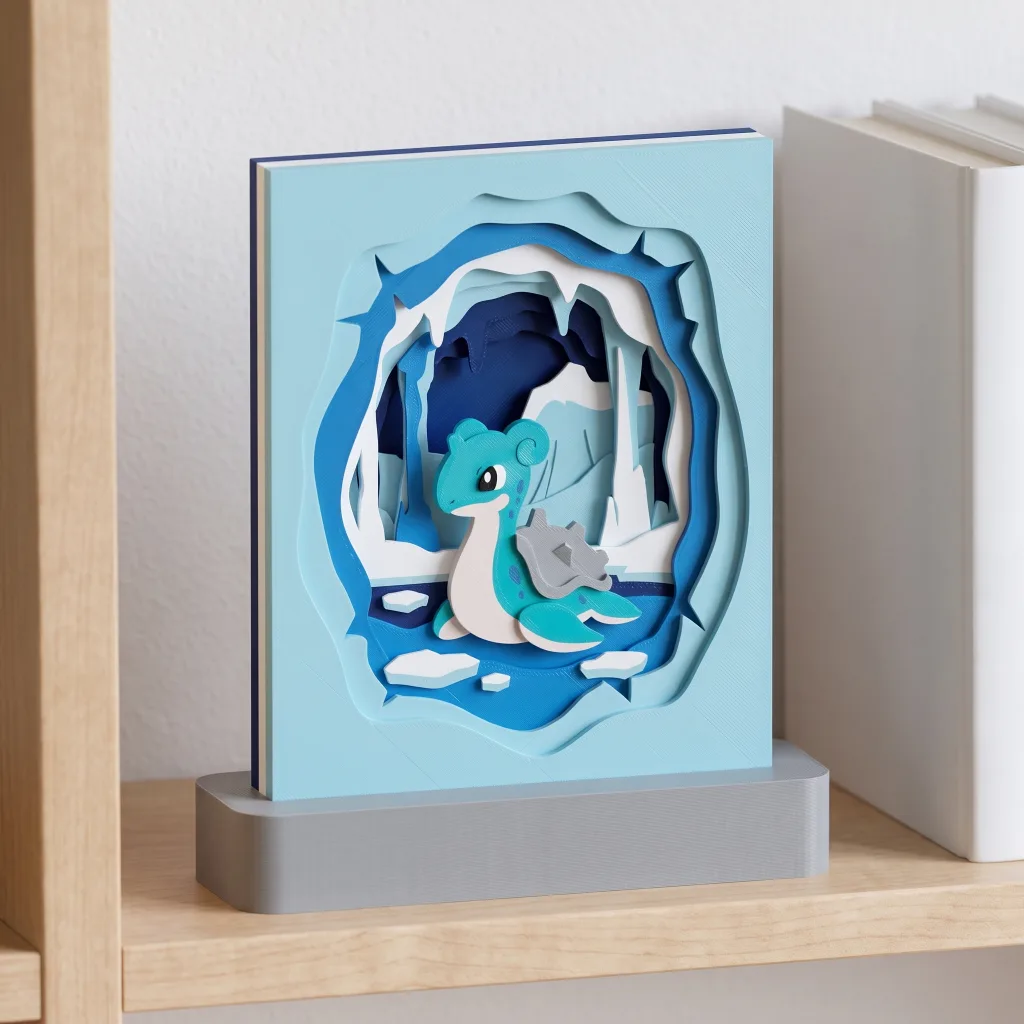
Look at Lapras’s scene. The water is fairly calm, the ice cave has sharp edges on either side, and the ice floes break up the surface. Several kinds of edge sit together, yet the eye still settles on Lapras.
If I were starting a scene like this from a 2D drawing, I’d organize the main outlines first and check how much of the opening remains when they overlap. Removing a few details can make the cave’s shape easier to read.
Vector tools suit this stage, including early color and composition trials. The cleaned-up paths can then be saved as SVG and taken into a modeling tool. Illustrator’s SVG saving options and Fusion’s Insert SVG feature connect those stages.
This route needs a check at the handoff. A beautiful thin line may become a fragile solid; a contour that looks closed may contain a tiny gap. Automatically traced paths deserve particular attention. Too many nodes, overlapping edges and tiny regions can make the modeling stage harder.
If you already draw in Illustrator or Inkscape, keep using it for composition and outlines, then choose a modeling tool for thickness and assembly. Your drawing habits still have a place in the process.
Fusion 360: more layers mean more dimensions to manage
Fusion 360 is now officially called Autodesk Fusion, though many people still use the older name. I’ll keep using that familiar name in this series too.
It’s my main tool because most of these shadowboxes can start with sketch profiles that are extruded to give them thickness. Characters, backgrounds and frames need defined dimensions, and I often return to them for adjustments. Fusion’s sketches, parameters and design history help organize that work.
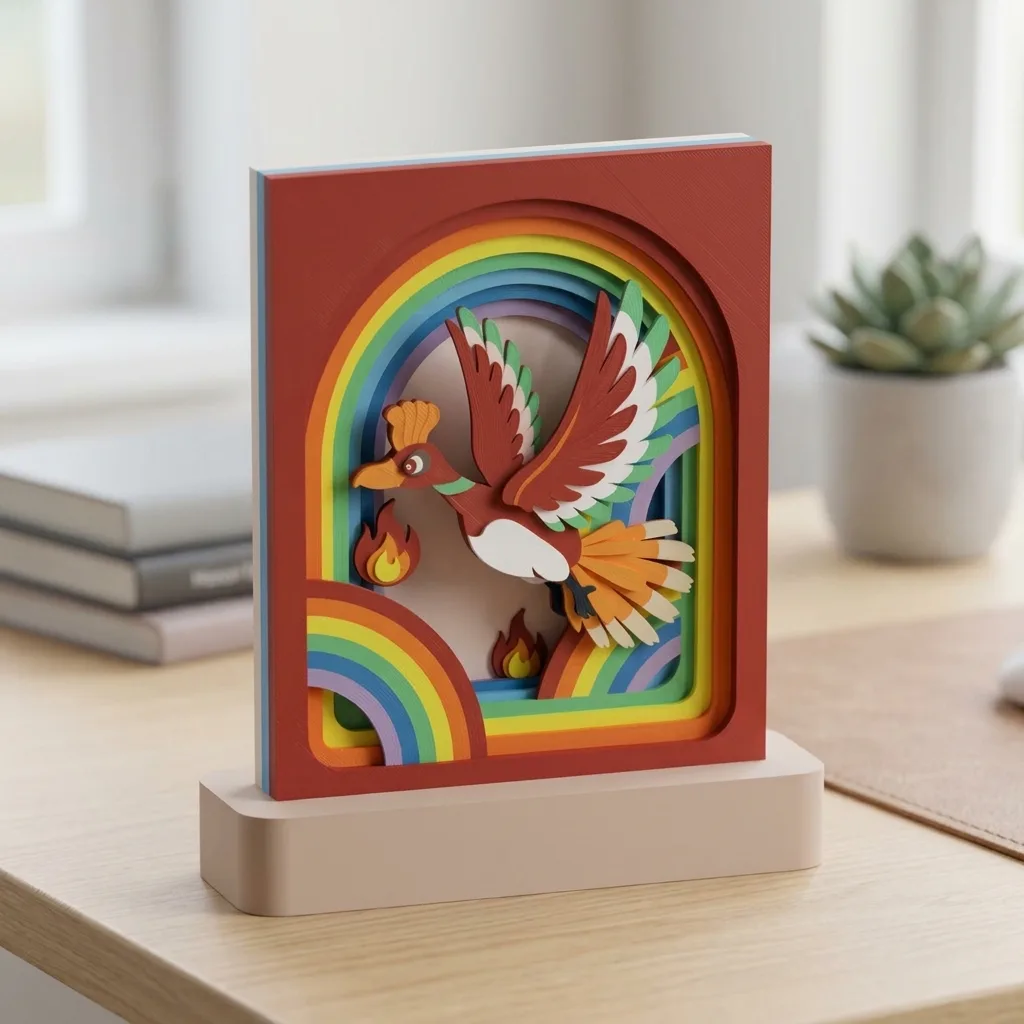
Ho-Oh’s rainbow arches show why this matters. Several colors follow similar contours, Ho-Oh’s wings reach to either side, and flames and another rainbow sit below. Color creates the first impression; the distance between layers determines how clearly each one remains visible.
Suppose you want to enlarge a similar frame or make a layer thicker. Parameters become useful here. Name the dimensions that need to be shared and reference them in the relevant sketches and extrusions. Related parts can then update together. Those relationships need to be set up while you design; the software won’t guess which parts should change together.
There’s a learning curve. You need to understand sketch constraints, the difference between bodies and components, and which timeline edit will affect later operations. Packing every detail into one sketch or fixing every dimension independently will still make changes difficult.
For my current pieces, with defined frames, several layers, bases and assembly to consider, organizing those relationships is time well spent. The next article will look at the Fusion 360 features I use and my general workflow. Here, I’ll stay with choosing a tool.
Blender: consider it for curved surfaces and relief
Blender can also make layered shadowboxes. Its SVG importer brings paths in as curve objects. Images, text and some visual effects in the SVG won’t become matching 3D geometry, so the imported shapes and scale need checking.
If you want raised surfaces, curved decorations or characters that feel more like sculptures, Blender’s mesh editing and sculpting tools are worth exploring. They give you room to develop more freely shaped forms.

In Butterfree’s piece, the wings open in a clearing surrounded by layers of leaves. Outlines and overlap create the forest, and flat leaves are enough to suggest plants.
If you want to take a similar theme further, curling the leaves into actual shapes or adding relief to the wings, Blender becomes an option. Natural curves don’t automatically call for surface modeling, though. First decide whether the extra depth helps the picture.
I also keep printing in mind. More complex surfaces bring more questions about overhangs, supports and splitting the model into parts. When making a printable model in Blender, check its real dimensions, thickness and mesh suitability for export. A render alone can’t answer those questions.
For mostly flat layers and assembly dimensions that I’ll adjust repeatedly, I’d choose Fusion 360 first. If curved surfaces, relief and character forms interest you more, Blender is worth spending time on.
Tinkercad: start with one small, simple piece
If you’re new to 3D design, Tinkercad is another starting point. It runs in the browser and offers guided beginner exercises. Dragging, resizing, aligning and grouping a few simple shapes gives you an intuitive way to try a small frame with a few layers.
I’d use it to make a first small experiment. See how three outlines stack into a scene, find out what happens when the character sits too far back, then print the piece.
As the layer count grows, outlines become more complex or several parts need repeated dimension changes, I’d move toward a tool that organizes those relationships more systematically. It depends on the piece’s complexity. Starting with a simple tool leaves plenty of room to go further.
Which route fits what you want to make?
Putting these choices together, this is how I’d decide:
| What you want to do first | Tool to consider | What you’ll need to work on next |
|---|---|---|
| Draw characters and backgrounds, trying outlines and colors | Inkscape / Illustrator | Turn paths into solids and plan thickness and assembly |
| Make flat layers, a frame and a base, with ongoing dimension changes | Fusion 360 | Sketch constraints, parameter relationships and design history |
| Explore curved surfaces, relief or freer character forms | Blender | Dimensions, mesh checks and splitting parts for printing |
| Finish a simple piece as your first modeling project | Tinkercad | Organizing complex outlines and more parts |
You can combine tools too: clean up outlines in a vector editor, then set thicknesses and layer spacing in Fusion 360. Each extra tool adds a file and dimension handoff. If one tool already lets you finish the piece comfortably, there’s no need to lengthen the process yet.
For a first 3D printed shadowbox, I’d begin with one character, a few background layers and a simple frame. Keep the most recognizable outlines and give each layer a clear purpose. Then look in the slicer: will the details survive, how should the parts be placed, and is there room for assembly?
Moving from the screen to the printer and then putting the parts together makes these choices concrete. You’ll find out whether you most want to change the composition, curves, thickness or fit. That gives you a better basis for choosing tools next time.
Next, I’ll return to my main tool, Fusion 360, and show how sketches, extrusions, components and parameters fit into a shadowbox design workflow. For a scene to think about in the meantime, browse the model collection and imagine which layers hold its foreground, character and background.