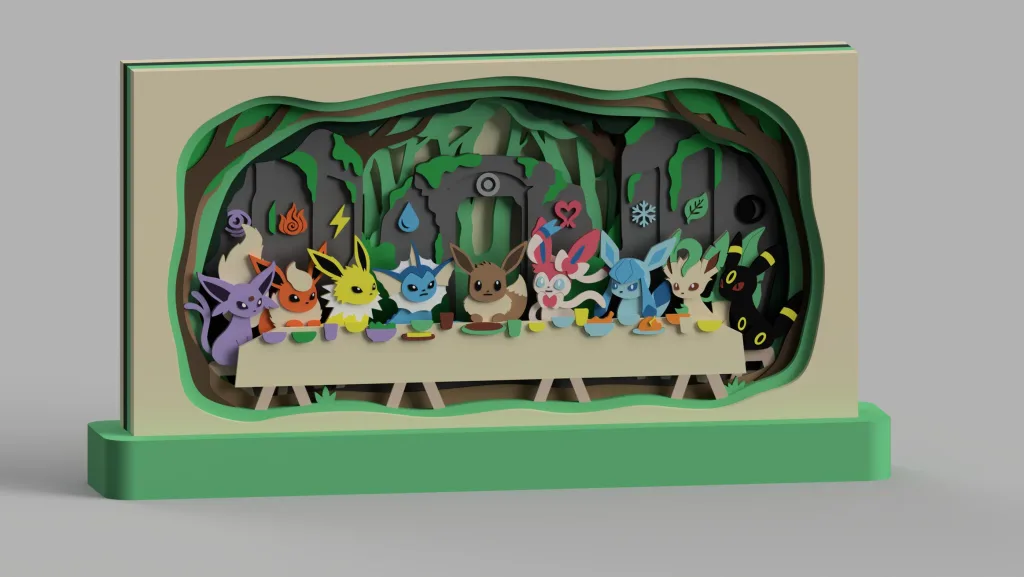
Eevee and its eight evolutions gather around a long table, with plant-covered ruins behind them. This is my shadowbox piece, Eeveelution Last Supper. There are plenty of characters in the frame, but what I want people to notice first is the scene of them coming together.
Then there is Halloween Pikachu: purple arches, a moon, bats, a cape and two little fangs give a familiar character a different mood.
These two pieces explain much of what I enjoy about designing shadowboxes. The character, scenery and frame can all contribute to the design, and 3D printing turns those ideas into separate parts with real thickness.
This is the first post in this blog series. I’ll start with the pieces themselves: what makes layered artwork appealing, and why it works well as a 3D printed display.
What is a shadowbox? Look at the layers inside the frame
A shadowbox is a form of dimensional, framed artwork. The term covers several approaches; here I’m talking about the one I use in my pieces: divide the characters and scenery into layers, arrange their positions from front to back, and assemble them into a complete image.
The front layer might be a frame, a branch or a table. Characters sit in the middle, with buildings, rocks or sky farther back. The outline of each layer, and how much it hides behind it, affects the scene we see.
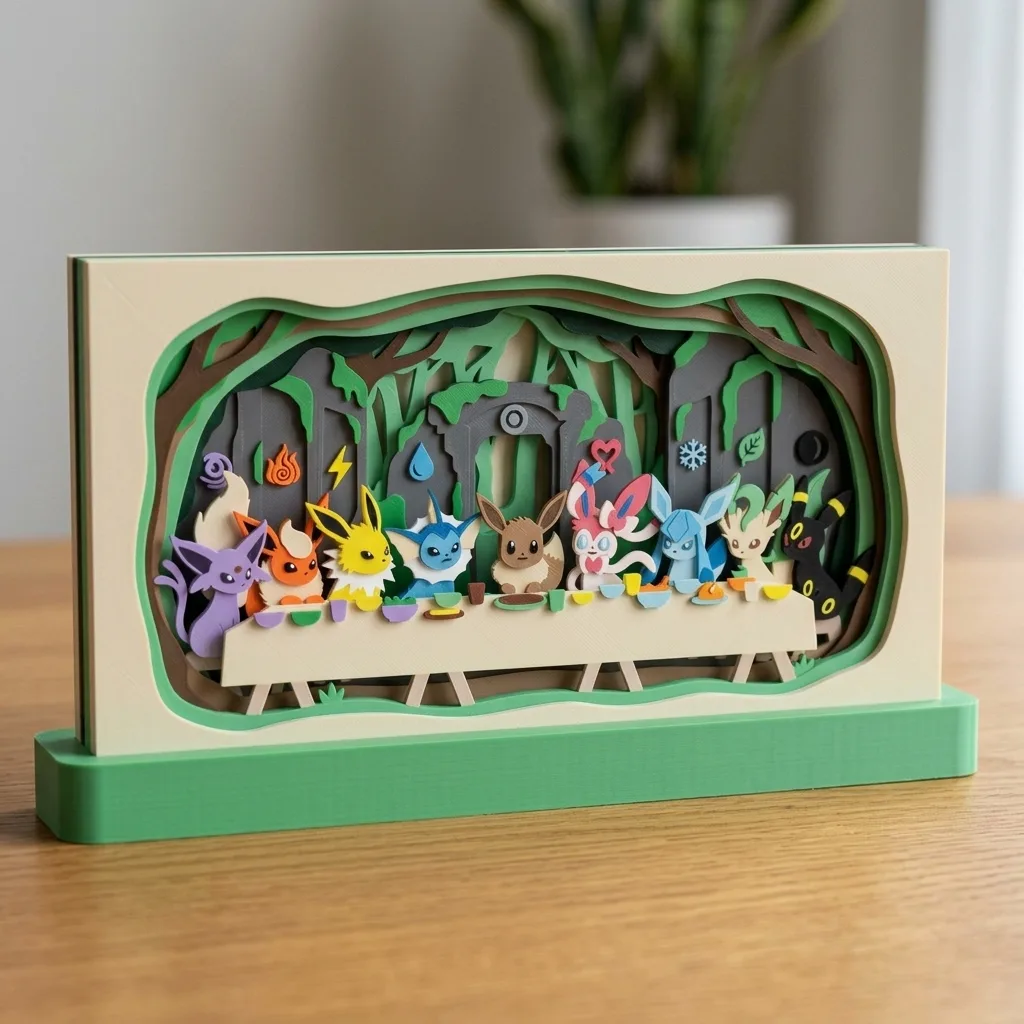
In Eeveelution Last Supper, the table stretches across the scene. Eevee sits in the center, with the other evolutions on either side. Farther back are elemental symbols on stone pillars, an archway and plants. Green outlines at different depths surround the scene and keep attention inside the frame.
Those relationships are what give the layers a purpose. The table sits in front of the characters, the characters sit in front of the ruins, and plants closer to the frame hide parts of the background. Many individual pieces are almost flat, yet their arrangement still describes a space.
I like giving the background a part in the story
The background matters to me when I design these pieces. Where I place a character changes the feeling of the whole work.
Take Halloween Vampire Pikachu. The cape and small fangs establish the costume. The pointed arches, moon, bats and gravestones give that costume a setting. Purple makes the yellow Pikachu stand out, while a touch of red inside the cape ties into the vampire theme.
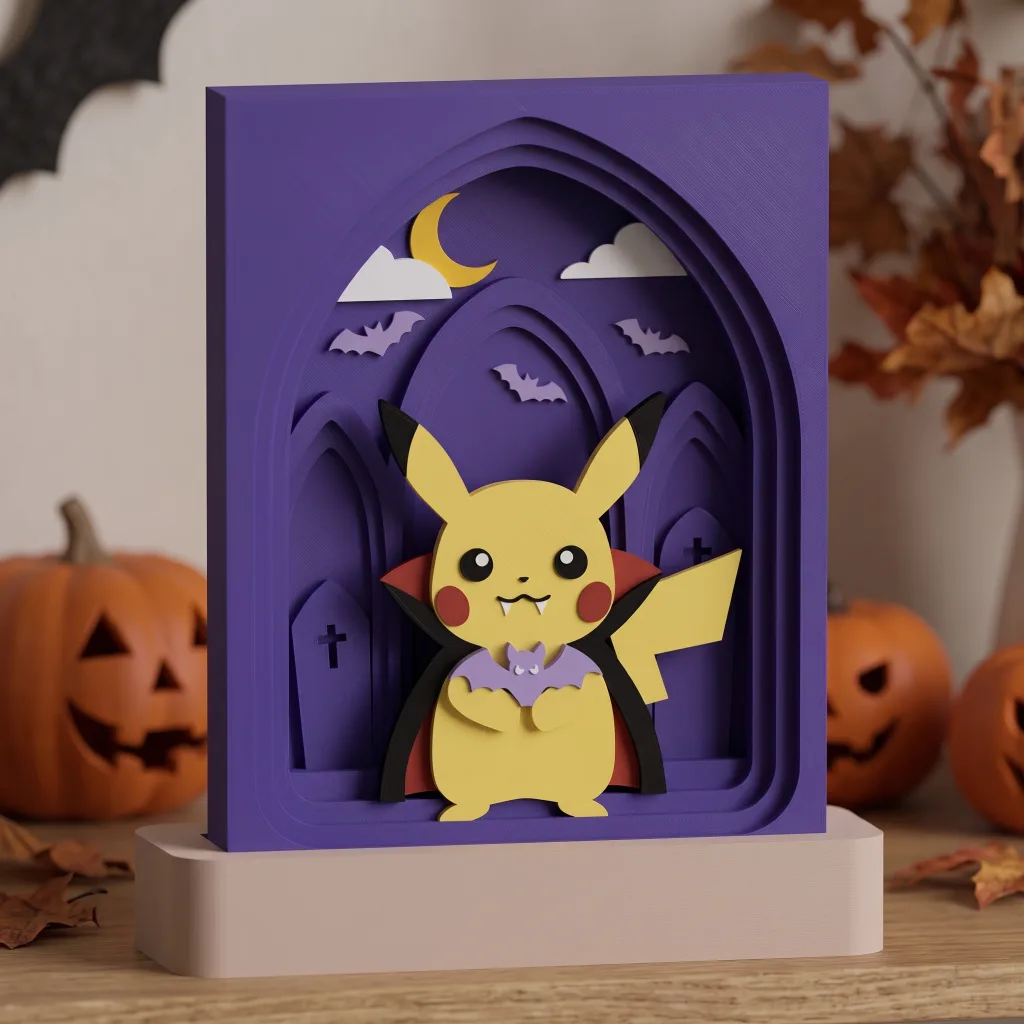
The individual elements don’t need to be very elaborate. The outline of a moon, a few bats and the shape of an arch already say a lot. I enjoy choosing those details, then deciding where they belong and how much space they should occupy.
Each new detail also needs a check: is it taking attention away from the character? I want enough scenery to give the piece a setting, while keeping the main character recognizable at a glance.
The shadows between layers are part of the piece
Some of a shadowbox’s depth comes from real shadows. Front pieces cover parts of those behind them, and the spaces between layers let light create changes in brightness along their edges.
Halloween Pikachu’s arches are a useful example. Similar purple outlines narrow toward the center. Even without elaborate surface textures, shadows along the edges reveal the depth. Seen at an angle, the gaps between layers become clearer.
That’s why I don’t check a layered design only from the front. Looking at a model from several angles can reveal a detail that’s hidden or a connection that’s showing, and help me spot what needs adjusting.
Why does this format work well for 3D printing?
One practical advantage of the way I work is that I can deal with the scene in separate parts.
Many layers can become fairly flat pieces. I can consider their print orientation, thickness and color individually, then assemble them. Changes can focus on the outline or structure of a particular layer. Organizing the scene during design makes the later work easier to plan.
Colors can follow the parts, too. Some areas suit separate prints in different colors; other details suit multicolor printing. The choice depends on how easy the separate pieces are to assemble and how many filament changes the multicolor print will need.
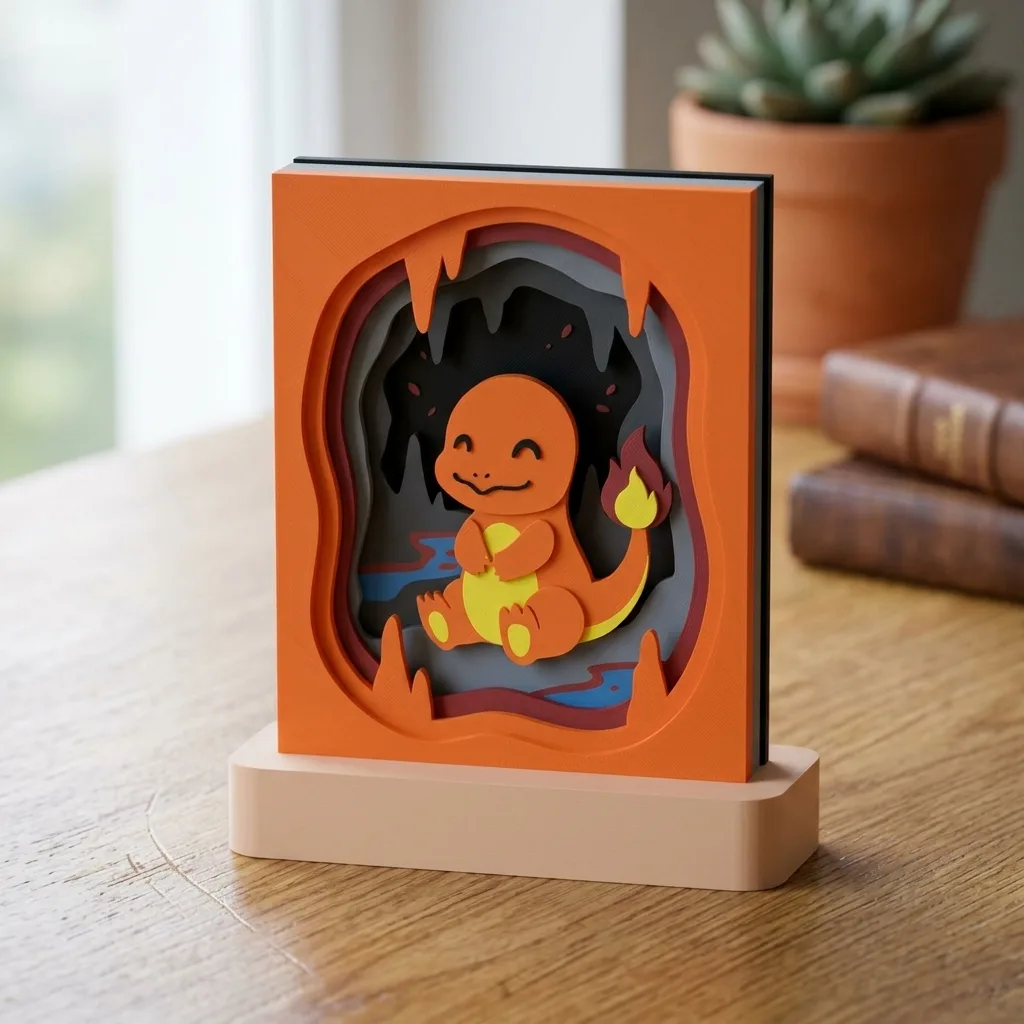
In Charmander’s cave scene, the orange outer shape, dark rocks inside and tail flame each have a different visual role. When planning colors, I consider the character’s familiar palette as well as whether adjacent layers remain distinct and whether the background overwhelms the subject.
If you’re starting to learn shadowbox design, I’d suggest a simple scene: one subject, a small amount of scenery and a frame. Get the outlines, front-to-back relationships and assembly method working before adding complexity.
One frame can hold many different themes
Shadowboxes also work well as a series. Similar frames and bases help pieces look coordinated together, while the scenes inside can vary widely.
A single-character piece can emphasize expression, pose and surroundings. A group scene such as Eeveelution Last Supper needs attention to the arrangement of characters. Halloween Pikachu offers another direction: keep the features people recognize, then use clothing, props and scenery to create a seasonal theme.
I enjoy that combination of a shared format and room for variation. Each piece can stand on its own, or join others in a personal display collection.
There are trade-offs
Layers don’t automatically make the work easy, and more layers don’t automatically make a better image.
Thin branches, pointed corners and small decorations may be fragile. Clearances that look right in a model need checking with test prints. More colors and parts can also mean more time spent printing and assembling. All of that belongs in the design process.
The viewing angle matters, too. These pieces are arranged mainly around the front image. At an angle, you can appreciate the layers; turn farther, and you’ll see more of the structure itself. Knowing where a piece will sit and how people will usually look at it helps guide the design.
So adding layers isn’t my goal. I care more about whether each layer makes the image clearer, supports the theme and can be printed and assembled successfully.
Next, we’ll look at how these pieces are designed
In this series, I want to explore choosing a subject, composing a scene, dividing the image into layers, selecting tools and using Fusion 360 to turn outlines into printable parts.
Future posts will use specific pieces to discuss design choices, print checks and revisions. To see how different scenes are handled, you can browse the Shadowbox Pokémon collection. Pick a piece you like and notice where its subject, foreground and background have been placed.
Continue with Shadowbox Composition: Plan a Layered Scene Before Modeling for a closer look at mood, focal points and overlap in Snorlax, Umbreon and other pieces, with two composition sketches to compare.